
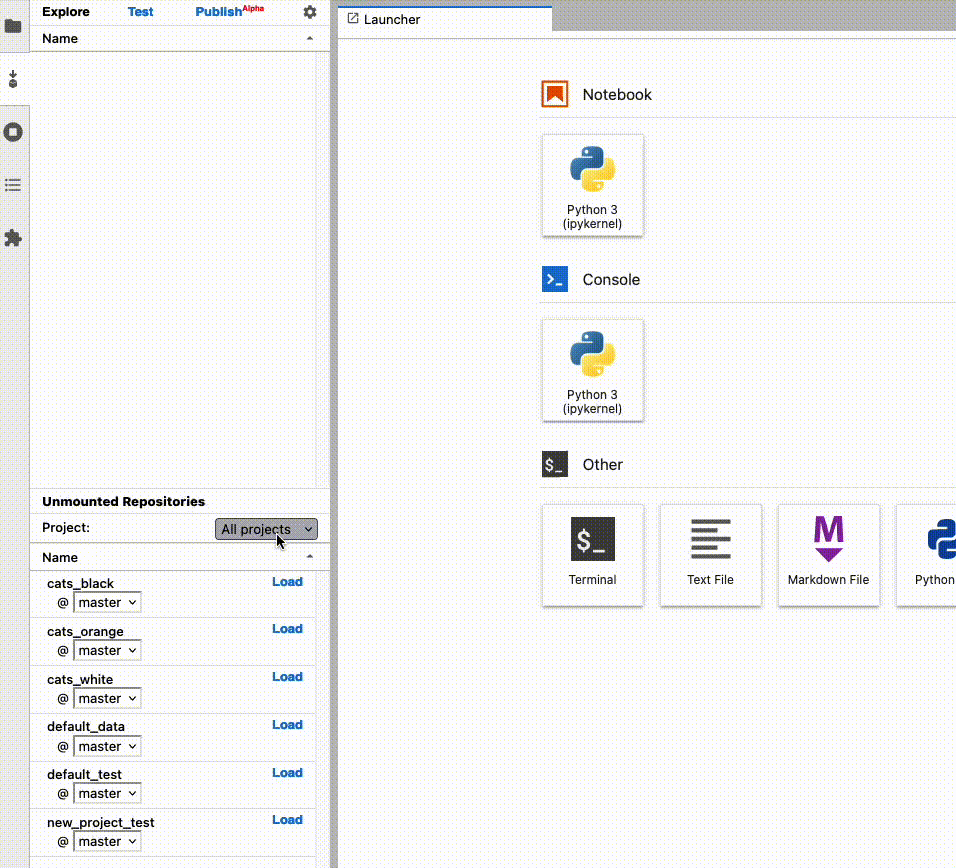
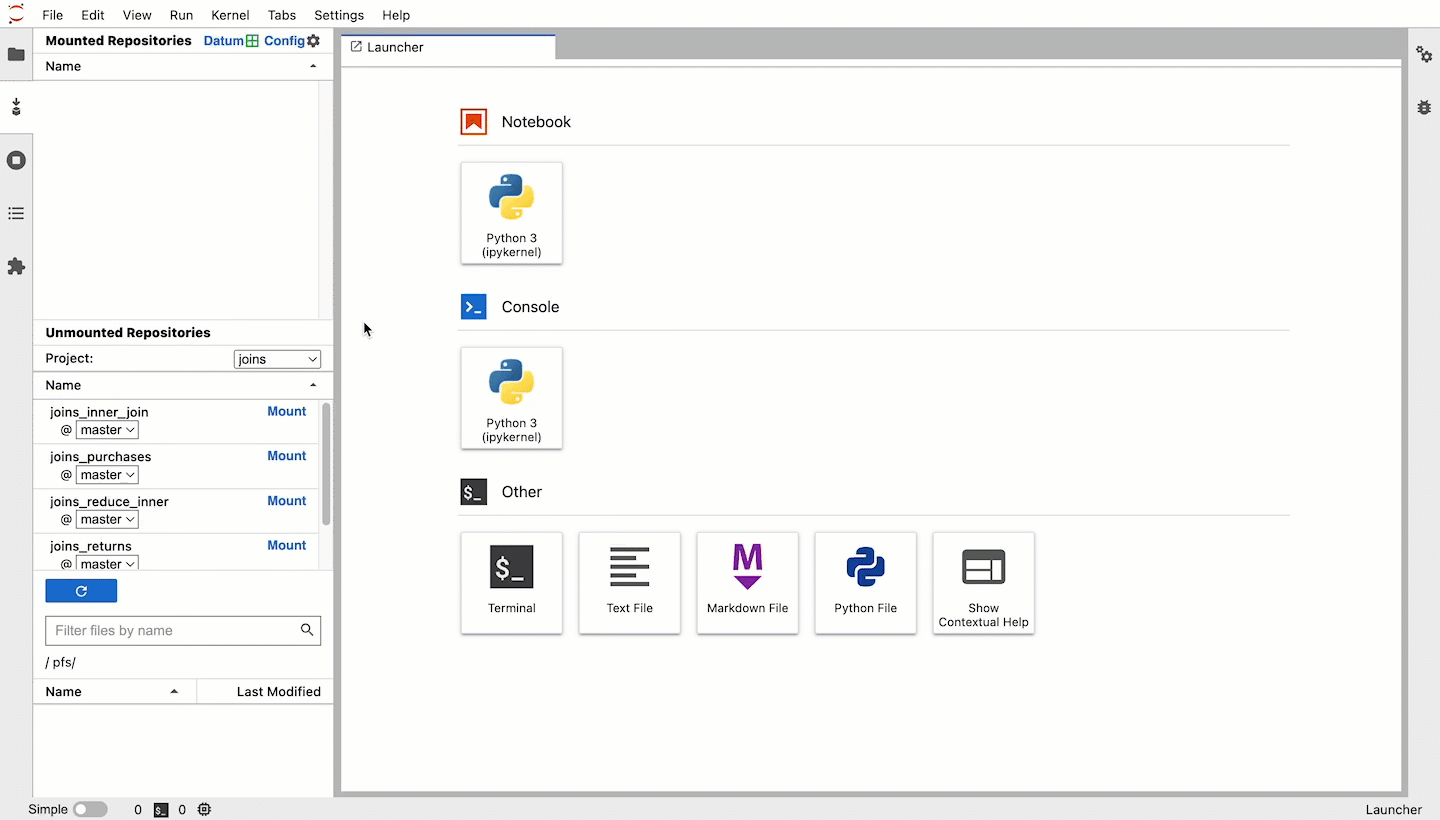
Select a Project #
You can filter mountable repositories by selecting a project.
- Open the JupyterLab UI.
- Navigate to the Pachyderm Mount tab ().
- Navigate to the Project dropdown.
- Select an existing project or the
defaultproject.
Create a Repo & Repo Branch #
Open the JupyterLab UI.
Open a Terminal from the launcher.
Input the following:
pachctl create repo demo
pachctl create branch demo@master
Open the Pachyderm Mount tab ().
Check the Unmounted Repositories section.
Your repo is created within the project set to your current context.
Create a Pipeline #
- Open the JupyterLab UI.
- Create a notebook from the launcher (it can be left blank).
- Navigate to the Pachyderm Mount tab ().
- Select Pipeline in the side panel.
- Input values for all of the following:
Name: The name of your pipeline.Image: The Docker Hub image that has your user code.Requirements: Arequirements.txtfile that contains the dependencies for your code.Input Spec: The input spec for your pipeline in YAML format. See the Pipeline Specification for input options.
- Select Save.
- Select Create Pipeline.
- Track the status of your pipeline using the command
pachctl list pipelinesin a terminal or view the pipeline in Console.
You can view the full compiled pipeline spec from the Pipline Spec Preview section.
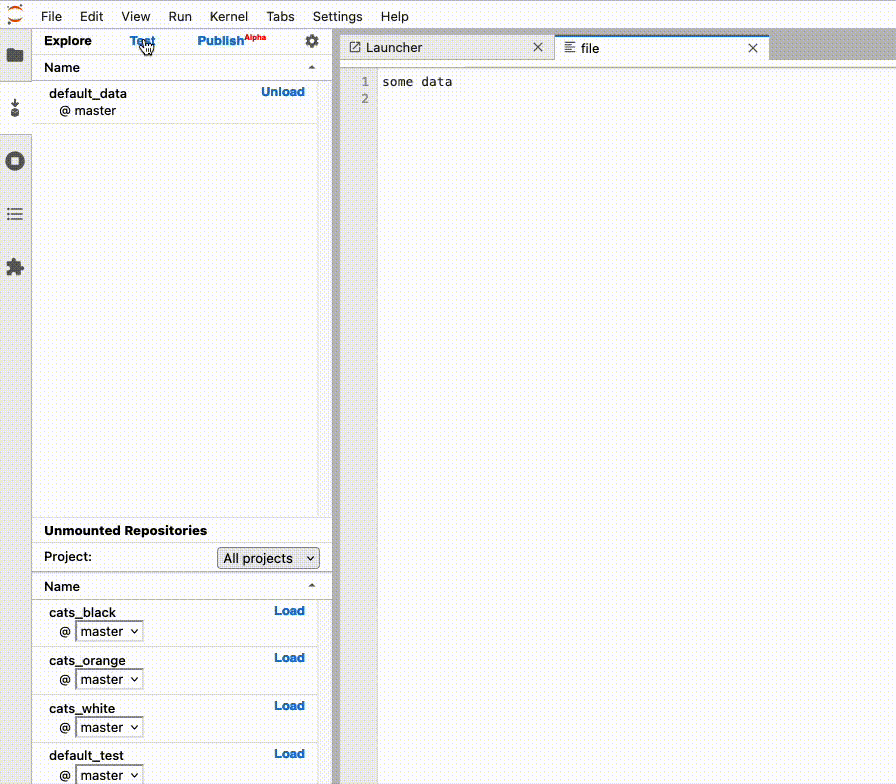
Mount a Repo Branch #
- Open the JupyterLab UI.
- Navigate to the Pachyderm Mount tab ().
- Navigate to the Unmounted Repositories section.
- Scroll to a repository’s row.
- Select Mount.
Mount (and Test) a Datum #
You can mount to a specific datum in your repository from the JupyterLab UI using an input spec. This is useful when:
- Working on data that is deeply nested within a specific directory of your repository.
- Testing and exploring viable glob patterns to use for your datums.
Open the JupyterLab UI.
Navigate to the Pachyderm Mount tab ().
Mount to a repo from the Unmounted Repositories section. (e.g., mounting to
demowould look like/pfs/demo/in the file browser).Navigate to the Mounted Repositories section and select Datum.
You should see the following:
pfs:
   repo: demo
   branch: master
   glob: /
Update the glob pattern to match the datums you wish to focus on.
Directory Example #
pfs:
   repo: demo
   branch: master
   glob: /images/2022/*
Extension Example #
pfs:
   repo: demo
   branch: master
   glob: /images/**.png
Select Mount Datums.
The file browser updates to display the matching datums.
When you return to the mounted view by selecting Back, the file browser will return to displaying datums that match your default glob pattern.
Explore Directories & Files #
At the bottom of the Mounted Repositories tab, you’ll find the file browser.
- Mounted repositories are nested within the root
/pfs(Pachyderm’s File System) - These repositories are read-only
- Mounted repositories have a
/glob pattern applied to their directories and files - Files only downloaded locally when you access them (saving you time)
Using the previous example, while the Demo repository is mounted, you can select the demo folder to reveal the example myfile.txt.